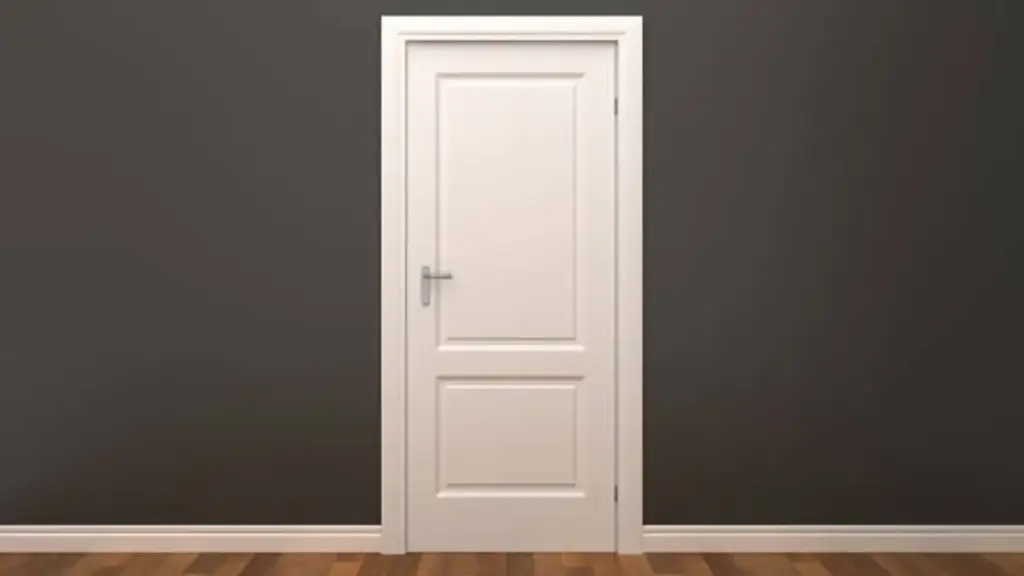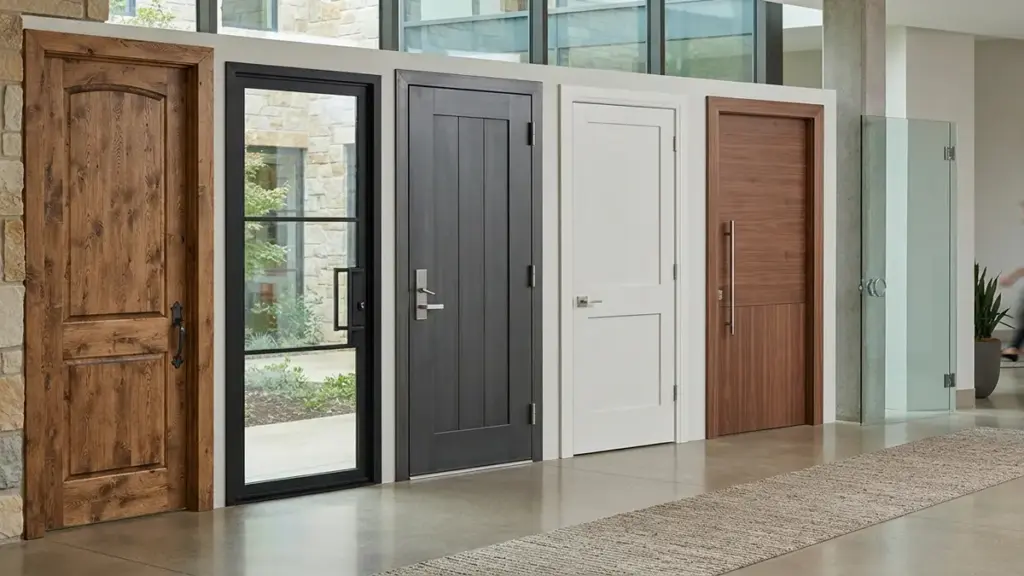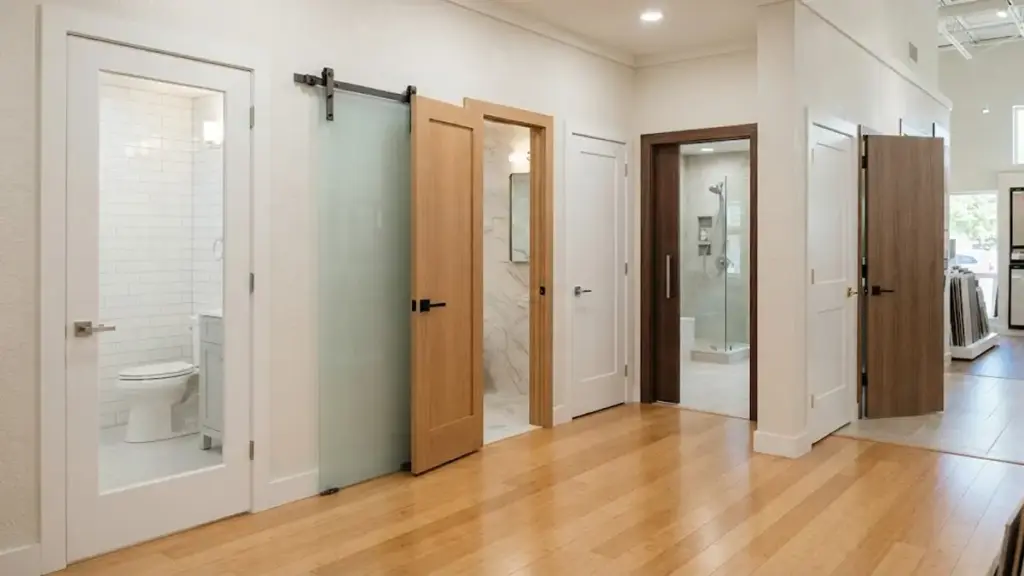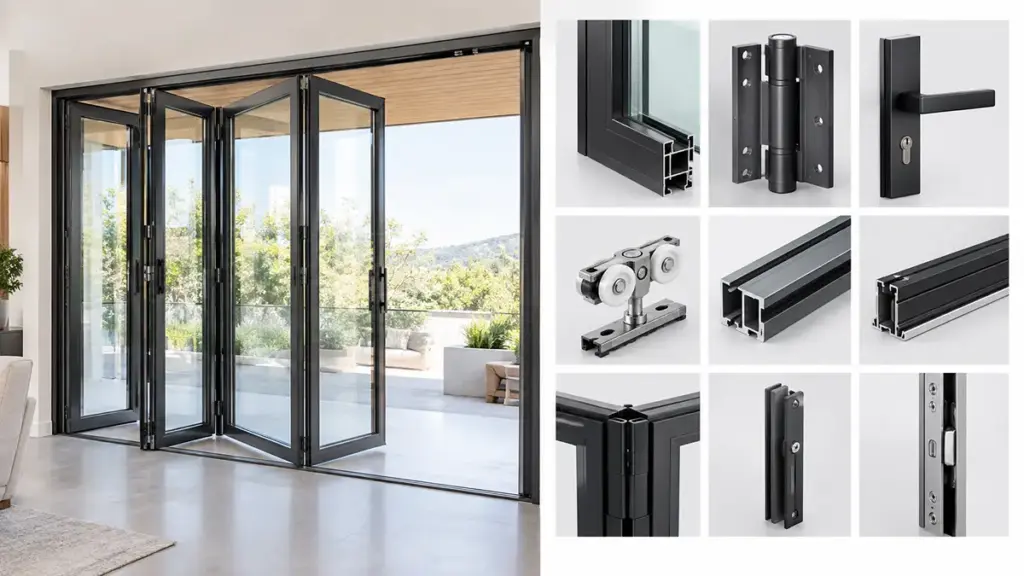
Replacing a pocket door does not always require opening the wall. In many cases, the existing pocket, pista, and frame can stay in place while you replace the slab or worn hardware.
This guide covers how to remove the existing slab, inspect the track and rollers, install a replacement slab, and adjust the door for smooth operation.
How to Replace a Pocket Door: Initial Inspection
Inspect the door, pista, rodillos, and pocket before removing the trim. This will tell you whether you need a new slab, new hardware, or access to the wall cavity.
Identifying Track and Roller Malfunctions
A pocket door that feels sluggish or rough usually needs the track, rodillos, floor guide, or door alignment checked. Slide the door fully open and closed and note where it sticks, scrapes, or makes unusual noises.
- Door Movement: Watch the slab closely to pinpoint grinding sounds, sticking zones, or lateral wobble that indicate derailed wheels.
- Conjuntos de rodillos: Examine the top-hung brackets and rollers for flat spots, seized bearings, or bent axles.
- Track Channel: Check the overhead track for bends, misaligned joints, and accumulated construction debris.
Finding these problems first may save you from replacing the door slab when cleaning the track or servicing the rollers is enough.
Assessing the Wall Cavity and Door Slab
Shifted framing, damaged studs, or a warped door slab can cause a pocket door to bind inside the wall. Check the slab and the accessible parts of the pocket before ordering replacement materials.
- Wall Cavity: Scan the pocket interior with a flashlight to detect bowed studs, framing settlement, or protruding drywall screws.
- Door Slab: Inspect the wood panel for warping, agrietamiento, moisture rot, or decay that prevents a plumb hang.
- Trim and Access: Evaluate the split jambs and head casing to decide if we can swap hardware through existing trim or if we must cut drywall.
If the framing is straight and the track remains level, you can usually replace the door slab without opening the wall.
If the inspection shows damaged framing or you need to open the wall, check for electrical wiring, plumbing, and HVAC components before cutting into the cavity. If the wall may be load-bearing, consult a qualified professional before altering the framing.
Removing the Existing Pocket Door Panel
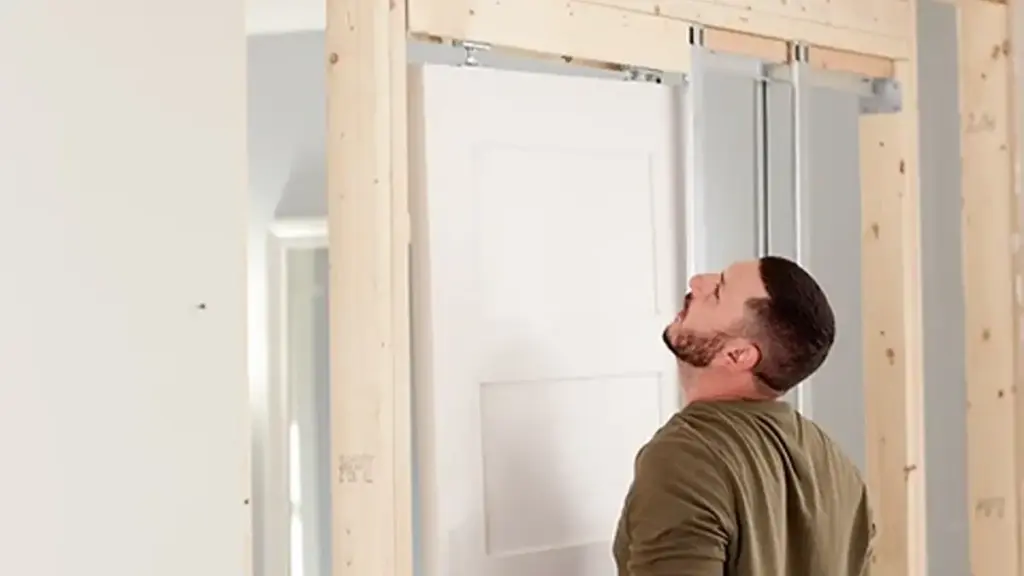
Before removing the door, clear the area, score the paint or caulk around the trim, and make sure the slab can be tilted away from the track without damaging the wall.
Step-by-Step Door Panel Removal
Score the paint or caulk line where the casing meets the wall using a sharp utility knife. Skipping this step leads to ugly drywall paper tear-out when you pull the trim free.
Remove the door stop or casing as needed to expose the hanger hardware. On some systems, removing one side of the split jamb provides access to the track and running gear.
Remove or release the floor guide if it prevents the slab from moving. Then follow the hanger manufacturer’s release procedure to disengage the door from the running gear.
Once the hangers are released, carefully lift and angle the slab as needed to clear the running gear and remove it from the pocket. Support the door throughout the process to prevent damage to the slab, pista, or surrounding trim.
Hardware Variations and Troubleshooting Tips
Pocket door hardware varies by manufacturer and age. Older doors may use different wheel-and-track designs, while newer systems often use trolley or running-gear assemblies that must be released according to the manufacturer’s instructions.
Have the following tools ready before you start:
- Utility knife: Cuts paint and caulk lines.
- Pry bar: Removes trim molding without splitting the wood.
- Screwdriver: Backs out bottom floor guides and releases newer hanger clips.
- Painter’s tape: Shields finished door faces and casings from tool scuffs.
Watch for immediate signs of resistance. If the slab binds or lifts only partially, a hidden floor guide, head stop, or bracket is likely still engaged. Never force the door panel. Forcing the slab risks bending the top track or permanently damaging the roller carriages, turning a simple door swap into a major framing repair.
Custom Pocket Doors for Global Projects
Checking the Track and Roller Hardware
Checking your pocket door’s track and rollers prevents chronic binding. Accurate assessment and basic maintenance often save you from a full wall teardown.
Assessing Track and Roller Condition
To diagnose sliding issues, you need direct access to the hidden mechanism. Standard trim often blocks your view, so starting with careful disassembly is essential for a proper look.
- Trim Removal: Remove the door stop trim and casing to gain clear access to the overhead pocket door track.
- Door Disengagement: Slide the door out and lift it carefully to disengage the roller assemblies from the track for a thorough inspection.
- Track Inspection: Use a flashlight to check the track for physical damage like bends, abolladuras, or gaps between track sections.
- Roller Evaluation: Inspect rollers for flat spots, grietas, and rust while verifying that the bearings rotate freely without binding.
Catching physical wear on these components early prevents the rollers from jumping track and tearing up your adjacent wall framing.
Maintenance and Hardware Replacement Decisions
Once you expose the hardware, clean the track before deciding whether to repair or replace. Accumulated debris often mimics mechanical failure.
- Debris Clearing: Vacuum out dust, construction debris, and hair from the track channel before wiping it clean.
- Lubricación: Apply a light silicone spray to the roller bearings and track contact points, avoiding heavy oils that attract grime.
- Damage Assessment: Evaluate physical damage to determine if the track needs tightening or if warped metal requires a full track replacement.
- Hardware Replacement: Install a matching track and roller kit if the existing components are cracked, seized, or severely worn. When sourcing replacement components, review the key door hardware selection factors for material, durabilidad, and load requirements.
If the track is physically warped or rollers have flat spots, swapping the assembly now avoids a repetitive failure down the road.
Preparing the Replacement Pocket Door
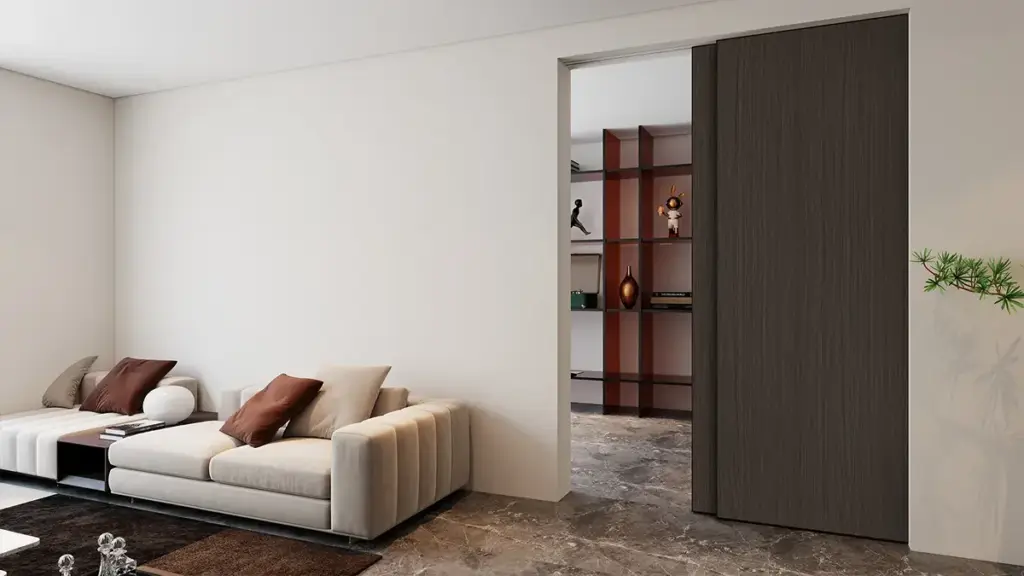
Good preparation makes a noticeable difference in how smoothly the replacement door operates. Get the slab dimensions, hardware mortises, and wall cavity right before hanging the door.
Sizing, Trimming, and Sealing the Replacement Slab
Hanging a replacement slab in an existing pocket requires strict dimensional accuracy. Even a small dimensional error can cause the slab to rub against the split studs or jambs, especially when the existing pocket has limited clearance.
- Slab Dimensions: Verify the rough opening and wall cavity depth to guarantee the replacement door slides fully into the pocket without binding. For more detail on pocket door installation, check the required opening dimensions and frame alignment before making changes to the existing wall.
- Trimming: If the replacement slab needs trimming, follow the door manufacturer’s allowed cut-down dimensions and use the appropriate saw and blade for the slab construction. Sand any exposed edges smooth before finishing.
- Caza de focas: Apply primer, pintar, or sealer to all six sides of the door slab, specifically targeting the raw top and bottom edges.
Finishing all six sides helps limit moisture absorption and reduces the risk of warping, which is especially important for a door that operates inside a narrow wall pocket.
Boring Hardware Mounts and Preparing the Wall Cavity
Hardware installation requires flat-surface precision. Anything protruding past the face of the wood slab will scrape the interior pocket framing and ruin the finish.
- Pilot Holes: Mark and drill precise pilot holes for the top roller hangers and the flush-mount latch hardware according to manufacturer templates.
- Chisel Mortising: Mortise the door edge using a sharp wood chisel so the faceplates and recessed pulls sit perfectly flush with the wood face.
- Cavity Cleanup: Clear the wall pocket of old dust, escombros, and protruding fasteners that can gouge the slab during operation.
Preparing the cavity beforehand prevents avoidable damage to your new door slab and ensures the rollers glide without catching on hidden construction debris.
Hanging and Aligning the New Door
Precise alignment prevents premature hardware wear and ensures your pocket door slides smoothly without drifting or scraping.
| Alignment Check | What to Verify | Why It Matters |
|---|---|---|
| Floor Clearance | Maintain the clearance specified by the door and hardware manufacturer. | Provides enough space for the door to move freely without rubbing the finished floor. |
| Side Clearance | Keep the slab clear of the jambs and pocket studs throughout its travel. | Reduces rubbing, vinculante, and damage to the door or surrounding frame. |
| Track Level | Keep the overhead track level and securely fastened according to the hardware system requirements. | Helps the door stay in position and allows the rollers to run smoothly. |
| Door Alignment | Adjust the hangers until the slab is plumb and properly aligned with the opening. | Prevents uneven gaps, scraping, and unnecessary stress on the rollers and hardware. |
Preparing the Slab and Mounting the Door to the Track
Hanging a pocket door correctly starts with solid preparation at the top edge of the slab. Even minor mounting offsets can cause the door to twist and scrape against the split studs inside the wall cavity. Before lifting any heavy solid-core panels, check that your hardware is securely anchored and the track is prepared to receive the rollers.
- Hanging Brackets: Mount the support plates and hanging brackets on the top edge of the door, centering them precisely to distribute weight evenly.
- Track Verification: Verify that the overhead track is level, properly aligned, and securely fastened before hanging the door.
- Roller Carriages: Slide the wheeled roller carriages into the track from the open end prior to lifting the door frame.
- Door Installation: Connect the door slab to the compatible hanger assembly according to the hardware manufacturer’s installation instructions, then check that the door is securely supported before sliding it into the pocket.
- Glide Test: Slide the door back and forth slowly to confirm that the rollers glide smoothly along the track without binding.
Adjusting Roller Height, Sondear, and Travel Stops
Once the door is on the track, you must dial in the height and vertical alignment. An improperly adjusted door can rub against the floor, sit unevenly against the receiving jamb, or create inconsistent gaps that affect appearance and operation. Proper adjustment ensures the door glides under minimal friction and seats perfectly flush.
- Floor Clearances: Turn the hanger adjustment screws to set the door height according to the manufacturer’s recommended floor clearance, then check that the slab hangs level and clears the finished floor throughout its travel.
- Plumb Alignment: Hang a level against the leading edge of the door and adjust individual hangers until the slab is vertical and parallel to the lock-side jamb.
- Drift Check: Check that the door stays in position when opened or closed. Unwanted movement can indicate that the track is not level or that the door is not properly aligned.
- Floor Guides & Stops: Anchor the floor guides at the pocket entrance to control lateral movement, and set track stops to limit door travel safely.
- Binding Troubleshooting: Correct binding or scraping by raising low rollers, checking for bowed pocket studs, or adjusting the floor guides.
Why Door System Quality Matters for Larger Projects
For larger residential and commercial projects, the door slab is only one part of the overall system. Opuo manufactures puertas de aluminio y madera, puertas correderas, ventanas estancadas, y terrazas solares, with options customized for different climates, environments, y requisitos del proyecto. Our production covers profile processing, glass fabrication, door and window assembly, and quality inspection, allowing key components to be coordinated within one manufacturing process. We also provide customized sizes, acabados, configuraciones de vidrio, and hardware options to suit different architectural designs. With engineering and installation guidance available throughout the project, OPUOMEN supports customers from design and quotation through production and delivery. A 5-year quality warranty is also provided for our door and window products, helping buyers plan long-term projects with greater confidence.
Testing Guides, Stops, and Hardware
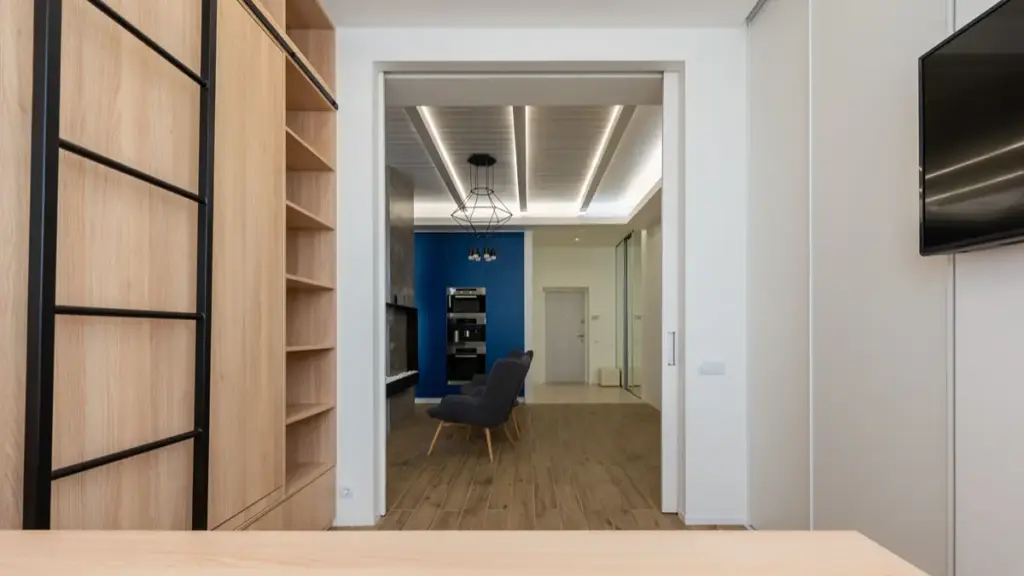
Properly adjusted guides and stops prevent pocket doors from binding, rattling, or sustaining impact damage inside the wall cavity.
Installing a replacement slab also requires the floor guides, se detiene, and hanger hardware to be adjusted correctly. Without testing these components under realistic operating conditions, the door can quickly derail or scratch the finished wood face.
Testing and Adjusting Floor Guides and Stops
Lower alignment systems and travel stops determine exactly how the door behaves at the limits of its path. We focus on physical clearance and secure fastening to prevent alignment shifts over time.
- Floor Guide Alignment: Align the floor guide assembly with the pocket center line. This keeps the door slab centered during travel and prevents the face from rubbing against the internal pocket studs.
- Overhead Track Stops: Set and tighten the track stops to establish safe travel limits. This prevents the door from crashing into the back of the pocket cavity or sliding too far inside where you cannot reach the finger pull.
- Finished Jamb Stops: Position the wood jamb stops flush with the split jamb edges. This ensures the door closes evenly and maintains the clearance specified by the pocket door hardware system.
Evaluating Overhead Tracks, Rodillos, and Hangers
The overhead hardware bears the entire weight of the door slab. Keeping the track level and adjusting the hangers correctly helps prevent unwanted door movement and improves smooth operation.
- Track Level Check: Use a four-foot level along the overhead track. A track that is out of level can cause the door to move on its own, so correct the track alignment before completing the installation.
- Hanger Adjustment: Rotate the hanger adjustment screws on top of the door slab. This step adjusts the door height and plumb alignment so the slab clears the finished floor correctly and sits squarely in the opening.
- Operational Testing: Cycle the door several times under normal operating conditions to make sure it stays aligned and moves smoothly. Sliding the door repeatedly under load confirms that all fasteners remain tight, the wheels run quietly, and the system performs reliably.
Preguntas frecuentes
How do you replace a pocket door?
Replacing a pocket door starts with checking whether the existing slab, pista, and rollers are still usable. If the track and pocket structure are in good condition, you can usually replace the slab without opening the wall. Remove the necessary casing or split jamb to access the hanger hardware, release the door from the running gear according to the hardware manufacturer’s instructions, and remove the slab. Install compatible hanger hardware on the replacement slab, hang it on the existing track, and adjust the door for proper height and alignment. If the track is damaged and must be replaced, access to the track may be required, depending on how the pocket-door system is constructed.
Can you replace a pocket door without removing the frame?
You can often replace a pocket door without removing the frame or opening the drywall, as long as the existing pocket, pista, and hardware are still in good condition. Remove the necessary trim or stops to access the hanger hardware, then release the door from the running gear according to the hardware manufacturer’s instructions. Once the old slab is removed, install the compatible hanger hardware on the replacement slab and hang it on the existing track. The frame or wall may need to be opened only if the track is damaged, the pocket framing is warped, or the existing hardware cannot be accessed or reused.
How do you remove a pocket door?
To remove a pocket door, first score the paint and caulk along the trim with a utility knife, then carefully remove the top casing or door stop as needed to access the hanger hardware. Release or remove the floor guide if it prevents the slab from moving. The exact removal method depends on the track and hanger system: some doors can be lifted and disengaged from the running gear, while others require loosening set nuts or releasing clips before the slab can be removed. Support the weight of the door throughout the process and follow the hardware manufacturer’s instructions to avoid damaging the track or rollers.
Can you replace just the pocket door slab?
Sí, replacing only the door slab is common when the existing pocket, pista, and hardware are still in good condition. Remove the necessary trim and release the existing hanger assembly according to the hardware manufacturer’s instructions. Prepare the new slab for compatible hardware, install the hanger components in the specified locations, then hang and adjust the door on the existing track.
How much does it cost to replace a pocket door?
The cost of replacing a pocket door depends on whether you are replacing only the slab, updating the track and rollers, or repairing the wall and framing. A simple slab replacement can cost much less than a full pocket-door installation. For reference, current U.S. estimates for installing a new pocket door generally range from about $800 a $2,500, while projects involving structural or drywall work can cost more.
How do you fix a pocket door that is off track?
To fix an off-track pocket door, first inspect the track, rodillos, and floor guide for loose hardware, escombros, or visible damage. Clean the track and check that the mounting screws are secure and the track remains level. If the rollers have come out of the track, lift and reposition the door according to the hardware manufacturer’s instructions. If the door continues to jump off the track, worn rollers, a damaged track, or alignment problems may need to be corrected or replaced rather than forcing the track back into shape.
Pensamientos finales
If the existing track or rollers are worn, replacing them with compatible, durable hardware can improve long-term door performance and reduce the need for repeat adjustments or repairs. The key is to match the replacement components to the existing door and pocket-door system rather than choosing hardware based on appearance or price alone.
Before placing a larger order, request the relevant hardware specifications or a sample so you can evaluate the roller operation and overall build quality. We recommend requesting our commercial hardware catalog or securing a sample kit to test our quiet-glide roller bearings on your next job site. Contact our B2B team today to discuss bulk pricing, custom OEM dimensions, and scheduled logistics.