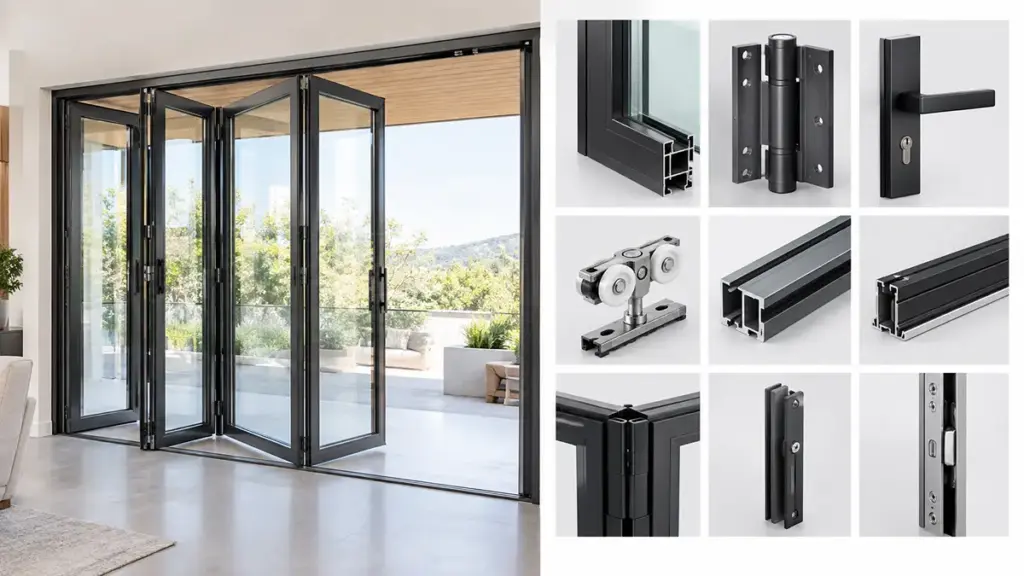
Pocket door installation requires accurate framing, a level track, and enough clearance for the door to move freely inside the wall cavity. Small alignment errors can cause the door to rub, bind, or fail to retract completely, especially after the wall has been finished.
This guide covers the main steps for installing single and double pocket doors, including rough opening dimensions, frame alignment, track installation, door hanging, guide adjustment, and final testing. Because dimensions and hardware details vary between pocket door systems, always follow the installation instructions supplied with your selected frame and hardware.
Pocket Door Installation: Planning the Opening
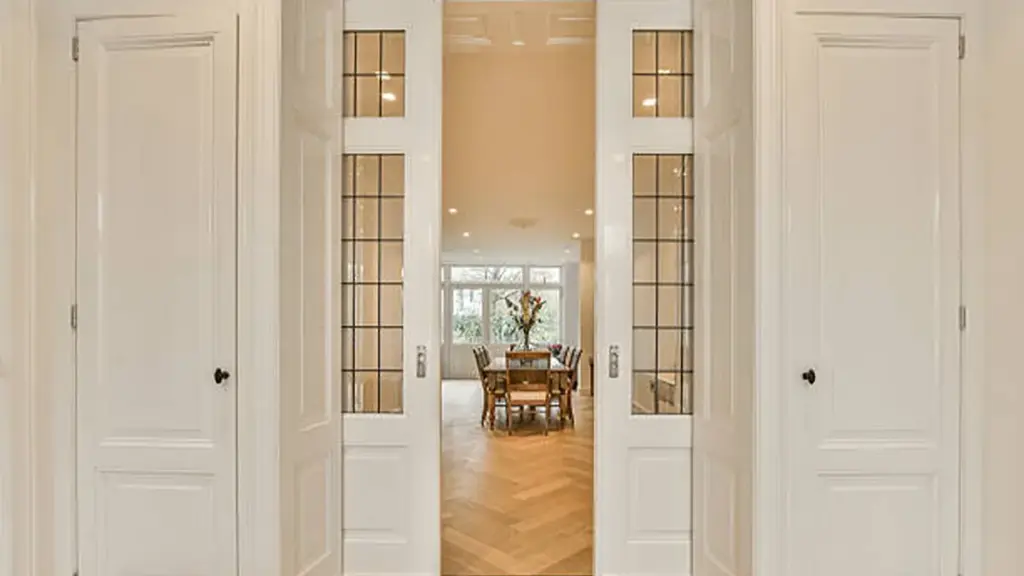
Accurate rough opening dimensions help prevent the door from rubbing, binding, or sitting out of alignment. Standard sizing requires twice the door slab width plus one inch.
Sizing the Rough Opening Width and Height
A pocket door needs accurate framing dimensions. If the opening is too small or out of alignment, the door may not retract fully or may rub against the pocket frame.
- Rough Opening Width: For some standard single pocket door kits, the rough opening is calculated by doubling the door slab width and adding 1 inch (2W + 1″). Check the selected frame manufacturer’s specifications for the exact dimension.
- Rough Opening Height: Add 4.5 to 5 inches to the nominal door height to leave clearance for the overhead track, hangers, and floor guides.
- Flooring Factor: Adjust vertical measurements from the finished floor level rather than the raw subfloor to prevent the bottom edge from dragging.
- Double Pocket Doors: Double pocket door systems require additional framing space for both door panels and their meeting point. The exact rough opening width depends on the selected frame system.
For example, a 2W + 1″ frame system would require a 61-inch rough opening for a 30-inch door and a 73-inch rough opening for a 36-inch door.
Structural Framing and Wall Cavity Clearances
If the wall is load-bearing, the new opening must be framed with a properly sized header and adequate support for the structural load. The required header size depends on the wall and local building requirements.
- Level Header Installation: Span the entire rough opening with a level header, sizing it for structural loads if the partition is load-bearing.
- Wall Cavity Preparation: Clear all plumbing lines, electrical wiring, and HVAC ducts from the pocket area before installing the frame.
- Stud Alignment: Plumb and square all king studs, jack studs, and split studs in a single plane to prevent frame twisting.
- Hardware Compatibility: Match framing tolerances to the specific pocket kit specifications, ensuring split jambs align with track requirements.
Keep drywall screws short during installation. Long fasteners will penetrate the pocket cavity and scrape the finished wood face when you slide the door.
Preparing Framing for a Pocket Door
Accurate framing and proper plumb alignment help prevent the door from binding, dragging, or developing operating problems.
Framing a pocket door starts with a precise mathematical layout. Pocket doors are less forgiving of framing errors than standard hinged doors, so check the dimensions and alignment before installing the drywall.
Calculating Rough Opening Dimensions and Wall Layout
Establishing correct rough opening dimensions prevents spatial conflicts once the hardware and wall finishes go up. Use these physical layout specs to prep the wall cavity:
- Rough Opening Width: For some standard single-door pocket frame systems, the opening is calculated as twice the door slab width plus 1 inch. Double pocket door systems require a larger opening, with the exact width determined by the selected frame and hardware system.
- Rough Opening Height: Add four to five and a half inches to the door slab height to accommodate the overhead track, roller hardware, and floor clearance.
- Reference Datum: Reference all vertical measurements from either the subfloor or the finished floor according to the kit manufacturer specifications to avoid clearance errors.
- Pocket Wall Space: Make sure the pocket cavity is long enough for the door slab to retract fully into the wall. Keep the cavity free of plumbing, wiring, ducts, and other obstructions.
Miscalculating these initial numbers means the door slab will either protrude into the walkway or scrape against the internal frame, ruining your finished trim work.
Structural Framing Assembly and Alignment Sequence
Once the dimensions are established, assemble the framing carefully to maintain structural support and a straight, properly aligned pocket cavity.
- Header Installation: Install a continuous, level header across the entire opening span. Use king studs and jack studs to carry structural loads if you are working in load-bearing walls.
- Pocket Stud Placement: Remove or omit standard studs in the pocket zone. Replace them with the thin metal or wood split studs provided in your hardware kit to construct the cavity walls.
- Plane Alignment: Plumb all rough studs and place them on the exact same vertical plane. This prevents the track from twisting and keeps the door from rubbing.
- Utility Rerouting: Keep electrical wiring, plumbing, and HVAC ducts out of the pocket cavity so the door has an unobstructed travel path and wall fasteners do not interfere with concealed services.
Checking the framing and relocating any utilities before closing the wall can save significant repair work later.
Choosing a Door Manufacturer for Custom Projects
For projects that require more than a standard off-the-shelf door, working with an experienced manufacturer can make the planning and specification process easier. OPUOMEN Doors and Windows has been manufacturing doors and windows since 2013, with products developed for different climates, environments, and project requirements. Its product range includes aluminum-wood doors, sliding doors, casement windows, sliding windows, and other custom door and window solutions. The company operates a 60,000+㎡ production facility with a team covering engineering, production, quality control, and sales. OPUOMEN also supports customized dimensions, finishes, glass configurations, and other project-specific requirements. Its quality management system is ISO9001 certified, while its products meet CE, RoHS, and REACH requirements. For distributors, contractors, and project buyers, this combination of manufacturing capacity, customization support, and technical coordination can be useful when sourcing doors for projects with specific design or performance requirements.
Custom Door Solutions for Global Projects
Installing the Pocket Door Frame and Track
Smooth pocket door operation depends on a rigid, properly aligned frame, a level track, and the correct floor clearance. Follow the frame manufacturer’s installation dimensions to help prevent binding.
| Installation Parameter | Target Specification |
|---|---|
| Rough Opening Width | Some standard kits use 2 × door width + 1 in.; verify the manufacturer’s dimensions |
| Rough Opening Height | Door height + 90 mm |
| Top Track Support | Shim and secure the track as required by the manufacturer’s installation instructions to keep it straight and level |
| Jamb Fastening | Secure the jambs at the locations and intervals specified by the pocket door frame manufacturer |
| Finished Floor Clearance | Set the door-to-floor clearance according to the pocket door hardware manufacturer’s specifications, with the door adjusted so it clears the finished floor throughout its travel |
Setting the Frame and Header Assembly
We establish a rigid, level, and square rough opening before mounting the hardware. If the header is not level or the split studs are out of alignment, the door may rub or bind during operation. Check the framing against the pocket door manufacturer’s tolerances before closing the wall.
- Rough opening width: Use the dimensions specified by the selected pocket door frame. Some residential systems use twice the door width plus 1 inch, while other systems require a different allowance.
- Rough opening height: Ensure the vertical clearance measures the door height plus 90 millimeters for track clearance.
- Top track support: Shim and secure the track as required by the manufacturer’s installation instructions to keep it straight and level.
- Jamb fastening: Secure the jambs at the locations and intervals specified by the pocket door frame manufacturer.
We measure height from the high point of the finished floor rather than the rough subfloor. This step protects our vertical clearances and keeps the overhead track from sloping.
Mounting the Track and Aligning the Door
A secure overhead track carries the entire weight of the suspended door panel. Do not use drywall or finish materials as the primary support for the track. Follow the manufacturer’s instructions for securing the track to the structural framing.
- Track fastening substrate: Secure the overhead track to the structural header or frame as specified by the pocket door manufacturer rather than relying on drywall or finish materials for support.
- Roller installation sequence: Slide the wheeled carriages into the track channel before lifting and hanging the door slab.
- Hanger bracket placement: Mount the brackets near the top corners of the door slab to distribute weight evenly.
- Finished floor clearance: Adjust the hanger hardware to maintain a gap of 1/4 inch to 3/8 inch above the finished floor surface.
Test the door several times before installing the drywall. Testing at this stage gives you easy access to the rollers, guides, and frame so any alignment problems can be corrected before the wall is closed.
Hanging the Door Panel on Rollers
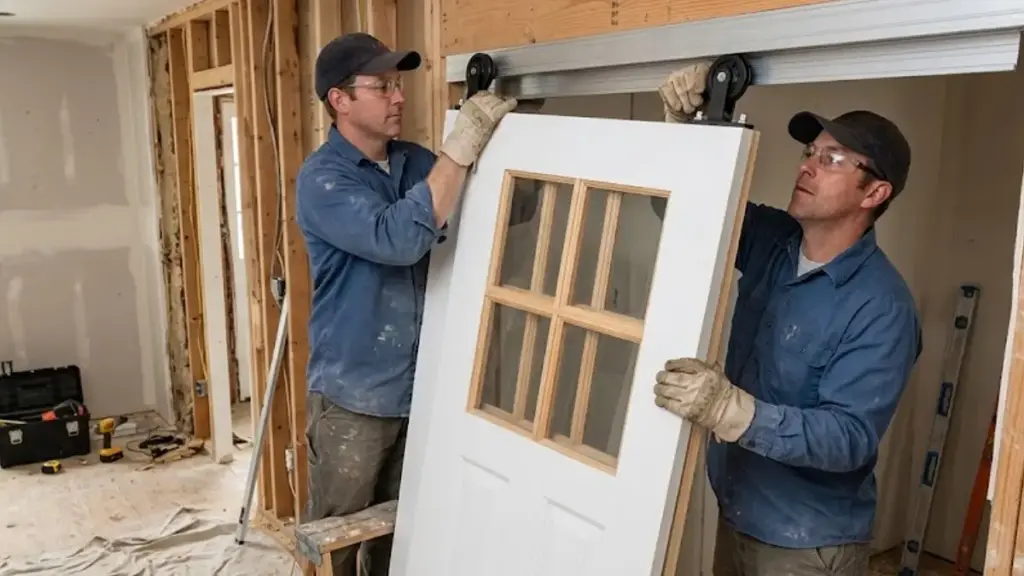
Correctly suspending a pocket door requires square top hardware and balanced roller engagement. Precise height adjustments prevent bottom drag and keep the door tracking smoothly.
Attaching Hardware and Suspending the Door Panel
Before lifting the slab into place, verify that all hardware components are present and match your track system. The top edge of the door must be clean and free of debris.
- Hanger Brackets: Mount the brackets squarely on the top edge of the door at the locations specified by the hardware manufacturer, using the supplied or approved fasteners.
- Track Carriage Engagement: Lift the door panel into the opening and slide the hanger brackets directly into the key slots of the pre-installed roller carriages.
- Weight Distribution: Lower the door carefully and make sure both roller assemblies are properly engaged and supporting the door.
Skipping the pre-assembly check or rushing the bracket alignment can twist the brackets. This prevents the rollers from locking properly and creates uneven resistance during travel.
Adjusting Alignment, Height, and Floor Clearance
After the door is hung, it still needs to be leveled and adjusted. You must dial in the vertical alignment and spacing before you lock the hardware and apply any wall finishes.
- Roller Adjustment Screws: Turn the hanger bolts with a wrench to raise or lower each side of the slab individually until the door hangs perfectly plumb.
- Floor Clearance: Adjust the height until the bottom edge of the door clears the finished flooring by 1/4 to 3/8 inches.
- Travel Range Testing: Slide the door fully open and closed multiple times to ensure it clears the pocket framing without dragging or binding.
Make small adjustments and check the door after each change. Even a minor adjustment can affect the alignment at the strike jamb. Even a minor adjustment can affect the alignment at the strike jamb. Check reveals at the top, sides, and bottom after every turn.
Adjusting Pocket Door Guides and Alignment
Proper pocket door operation relies on balancing top roller hanger adjustments with precise lateral guide positioning to prevent floor drag and panel wobble.
Troubleshooting and Adjusting Bottom Door Guides
When a pocket door scrapes against the pocket frame or wobbles during travel, the issue usually stems from the bottom guides. Over time, loose fasteners or shifting floors throw these small components out of alignment.
- Identify Symptoms: Rubbing, scraping sounds, and bottom wobble at the pocket opening indicate that the door panel is making contact with the split studs.
- Loosen Fasteners: Back off the slotted floor guide mounting screws slightly, allowing just enough play to shift the guide body laterally.
- Center the Groove: With the door partially open, adjust the floor guide so the door stays centered without rubbing against the pocket frame.
- Lock Down Alignment: Tighten the screws securely to prevent the guide from twisting, which otherwise causes recurring binding issues.
Aligning Top Rollers and Tracks for Balanced Travel
The top track and roller assemblies support the entire weight of the door slab. Misalignment here manifests as uneven vertical gaps or a door that drifts on its own.
- Hanger Adjustment: Use a wrench or the manufacturer-provided tool to turn the roller hanger assembly screws, raising or lowering the door slab as needed.
- Correct Jamb Gaps: Adjust the left and right hangers independently to eliminate vertical tilts and wedge-shaped gaps when the door meets the strike jamb.
- Track Shimming: If the upper track sags or slopes, insert plastic shims between the track and the header to establish a perfectly level plane.
- Progressive Testing: Slide the panel back and forth repeatedly during adjustment to verify smooth travel before reinstalling the trim pieces.
Finishing and Testing the Pocket Door
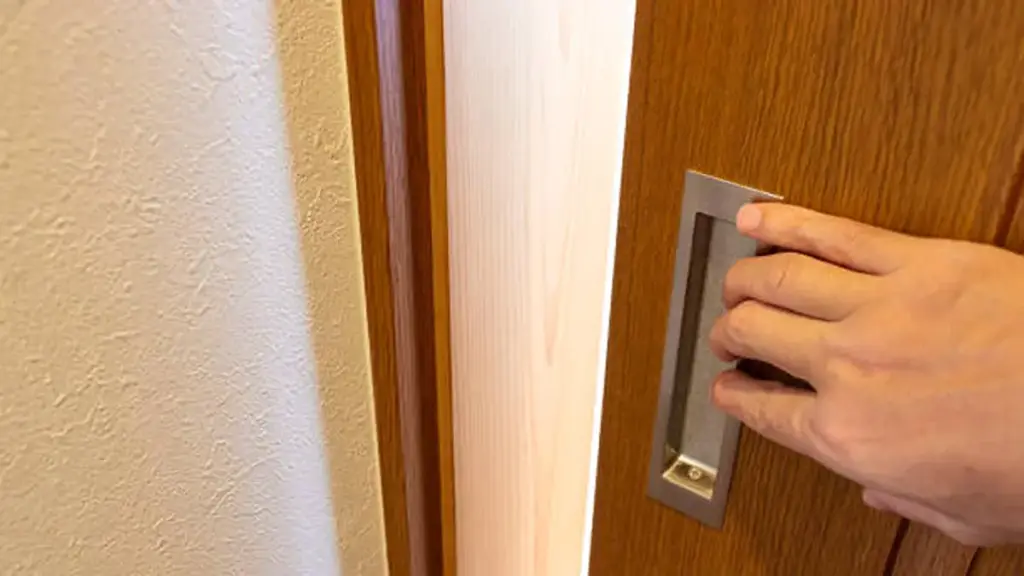
Flawless pocket door operation requires exact hardware calibration and rigorous cycle testing before you seal the wall permanently.
Trim Installation and Hardware Calibration
Once the door is aligned and operating smoothly, install the trim and make the final hardware adjustments. Keep enough clearance around the door and use fastening methods that allow the trim to be removed later for maintenance or track access.
- Floor Clearance: Adjust the door height according to the hardware manufacturer’s specifications so the slab clears the finished flooring throughout its travel.
- Top Jamb Mounting: Secure the top jamb with finish screws or other removable fasteners where permitted by the door system, making future access to the track easier.
- Hanger Calibration: Fine-tune the roller adjustment screws until the door hangs plumb and the gaps around the slab are even.
- Soft-Close Alignment: If the system includes soft-close hardware, align the stops and actuator according to the manufacturer’s installation instructions and check that the mechanism engages smoothly.
- Flush Hardware: Install recessed pulls and pocket-door locks so they remain clear of the frame and wall cavity as the door opens and closes.
These final adjustments help keep the trim neat while ensuring the door hardware remains accessible and functions properly.
Operational Testing and Final Adjustments
Test the door through several complete cycles before finishing the surrounding trim. This helps identify dragging, binding, or other friction points while adjustments are still accessible.
- Path Clearance: Slide the door end-to-end to detect dragging, binding, or grinding.
- Full Retraction: Verify the door tucks completely into the wall cavity without the hardware striking the frame.
- Soft-Close Catch: Ensure the dampener catches smoothly and pulls the door fully shut against the jamb.
- Latch Engagement: Test that the deadbolt or latch engages the strike plate cleanly without forced alignment.
- Hardware Integrity: Tighten all track and hanger hardware to lock the system securely in its locating grooves.
If the door drags, binds, or makes unusual noise, correct the alignment before installing the final trim.
Frequently Asked Questions
How do you install a pocket door?
Pocket door installation starts with checking the wall and preparing the opening. First, inspect the wall for electrical wiring, plumbing, HVAC, and other obstructions, and determine whether it is load-bearing. For an existing wall, remove the door, casing, jambs, and drywall as needed. Next, modify the framing and install the required header and pocket frame according to the manufacturer’s specifications. Assemble the split studs, shim the frame plumb and square, and secure it in place. Then install the overhead track and roller hardware, attach the hanger brackets to the top of the door, and hang the door on the rollers. Adjust the hanger bolts until the door hangs plumb and moves smoothly without rubbing. Before closing the wall, test the door through its full travel and correct any alignment issues. Finally, install the drywall with appropriately sized fasteners, finish the wall, and install the jambs, trim, recessed pulls, and other hardware.
How big should the rough opening be for a pocket door?
For a standard single pocket door, the rough opening size depends on the frame system. Some standard kits use twice the door slab width plus 1 inch for the rough opening width, while other manufacturers specify different allowances. Always use the dimensions provided with your selected pocket door frame. The rough opening height must equal the door height plus 4.5 inches, measured from the finished floor to the underside of the header. For example, a 30-inch by 80-inch door would require a 61-inch-wide by 84.5-inch-high rough opening when using a pocket door frame system with the 2W + 1″ width and door height + 4.5″ height specifications. For double pocket doors that meet in the center, the rough opening is often based on four times the width of one door plus an additional allowance. Some frame systems use 4W + 2″, but the manufacturer’s specifications should be used for the final dimension.
Can a pocket door be installed in an existing wall?
Yes, you can install a pocket door in an existing wall, but the project requires opening the wall, altering the framing, and potentially rerouting utilities. The process is straightforward in non-load-bearing walls that are free of wiring, plumbing, and ductwork. If the wall is load-bearing, you must install a structural header to carry the weight. For solid masonry walls or walls heavily crowded with utilities, a common alternative is building a false stud wall parallel to the existing wall to house the pocket frame without disturbing the original structure.
Do pocket doors need a bottom track?
Most standard pocket doors do not require a continuous, load-bearing bottom track. They are typically top-hung, with the overhead track and roller hardware supporting the door’s weight. However, a floor guide is usually installed at the pocket opening to keep the bottom of the door aligned as it moves. The guide does not carry the door’s weight; it helps prevent the panel from swinging, rattling, or rubbing against the pocket frame during operation. Always check the installation instructions for your specific pocket door system, as hardware configurations can vary.
How much wall space is needed for a pocket door?
A single pocket door generally needs wall space roughly twice the door width so the door slab can fully retract into the pocket, plus the framing allowance required by the selected pocket door system. For example, a 32-inch door may need about 65 inches of rough opening width with a system that uses the 2W + 1-inch formula. The pocket cavity must remain free of electrical outlets, plumbing, wiring, ducts, and other obstructions so the door can move freely inside the wall. The required wall thickness also depends on the frame system. Many residential pocket door kits are designed for 2×4 stud walls, while some are made for 2×6 framing. Always check the manufacturer’s specifications for the exact wall space, rough opening, and framing requirements before installation.
Are pocket doors difficult to install?
Pocket door installation is an intermediate to high-difficulty project depending on the wall type. In new construction, the process is highly manageable because you can frame the wall specifically for the pocket system from the start. But retrofitting a pocket door into an existing finished wall is highly challenging. It requires precise demolition, stud removal, drywall patching, and potentially complex structural changes or utility rerouting. Because any misalignment can cause the door to bind or rub once the wall is closed, the project demands high accuracy with levels, squares, and carpentry techniques.
Final Thoughts
For residential projects, choose a pocket door frame and hardware system that matches the door size, weight, wall construction, and expected usage. A rigid frame, properly supported track, and correctly adjusted rollers can help reduce rubbing, noise, and maintenance problems over time.
Avoid guesswork on your next residential project or wholesale order. Explore OPUOMEN’s custom door and window solutions for projects that require specific dimensions, finishes, glass configurations, or performance requirements. Contact our team to discuss your project specifications and distribution needs.