When a garage door won’t open or close, start with a few basic checks before attempting any repair. This can help identify simple problems such as power issues, blocked sensors, or track obstructions while avoiding unnecessary safety risks. Do not force a stuck door. A damaged spring, cable, or track can make the door unsafe to move and may also put extra strain on the opener.
This guide walks you through the most common causes of a garage door that won’t open or close, including power problems, safety sensor issues, track obstructions, and broken springs. It also explains which checks you can safely perform yourself and when you should call a professional.
La puerta del garaje no se cierra ni se abre: First Checks
Start by checking the power supply, lock settings, sensores de seguridad, and tracks before attempting to move the door manually.
| Diagnostic Area | Key Symptom | Immediate Fix |
|---|---|---|
| Power & Controls | Completely dead motor; wall button works but remotes fail. | Check circuit breaker; disable vacation lock mode on wall console. |
| Safety Sensors | Door starts closing, then immediately reverses; blinking LEDs. | Wipe photo-eye lenses with a soft cloth; realign brackets until lights show solid. |
| Pistas & Hardware | Grinding sounds; jerky movement or stopping mid-travel. | Clear dirt and debris from rails; tighten loose bracket hardware. |
Initial Diagnostics and Basic Control Checks
Before dismantling hardware, verify the fundamental electrical and control components. Some garage door problems are caused by simple issues such as a tripped breaker, disconnected power, or an activated lock setting, so check these before troubleshooting the hardware.
- Seguridad ante todo: Do not force a stuck door or try to lift a door that feels unusually heavy. These symptoms may indicate a spring, cable, or track problem that needs professional attention.
- Power verification: Inspect the motor power cord, the GFCI outlets, and the main circuit breaker. A tripped circuit often halts all automatic operations.
- Battery replacements: Swap out weak batteries in handheld remotes, exterior keypads, and built-in vehicle transmitters. Weak batteries can cause the remote or keypad to work intermittently or stop working altogether.
- Lock mode status: Check the wall console vacation or lock setting. If activated, this setting blocks all remote frequencies while keeping the wall button functional.
- Emergency release test: Pull the emergency release to disconnect the door from the opener, then carefully lift the door about halfway by hand. A properly balanced door should stay in place. If it feels unusually heavy or will not stay in position, stop and contact a garage door professional.
If manual operation reveals the door feels incredibly heavy or grinds along the track, stop immediately. These symptoms point directly to failed counterbalance hardware rather than an electronic system glitch.
Safety Sensor Troubleshooting and Physical Track Inspections
A garage door that opens normally but will not close is often related to the sensores de seguridad, wiring, pistas, or opener components. The safety sensors prevent the opener from closing the door when the infrared beam is blocked or the sensors are misaligned.
- Photo-eye alignment: Clear all obstructions from the floor path. Wipe the sensor lenses clean with a soft cloth and adjust the brackets until both LEDs glow steadily.
- Low-voltage wiring check: Follow the thin wires from each sensor back to the opener. Look for staple-pinched insulation, dry rot, cuts, or loose wiring terminals at the motor head.
- Track clearance: Remove stones, garden tools, and accumulated dirt from the vertical and horizontal rails. Ensure the rollers sit properly inside the track channel.
- Travel limit calibration: Note if the door hits the floor and immediately reverses. This behavior signals that the close-limit settings require adjustment on the motor unit.
- High-risk mechanical signs: Identify structural damage before proceeding. Snapped cables, visibly broken torsion springs, or a lopsided door frame pose high safety risks.
When physical inspections reveal twisted tracks or broken springs, suspend DIY steps. Working on high-tension springs or unbalanced doors without dedicated winding bars and safety training risks severe injury.
Inspecting Garage Door Safety Sensors
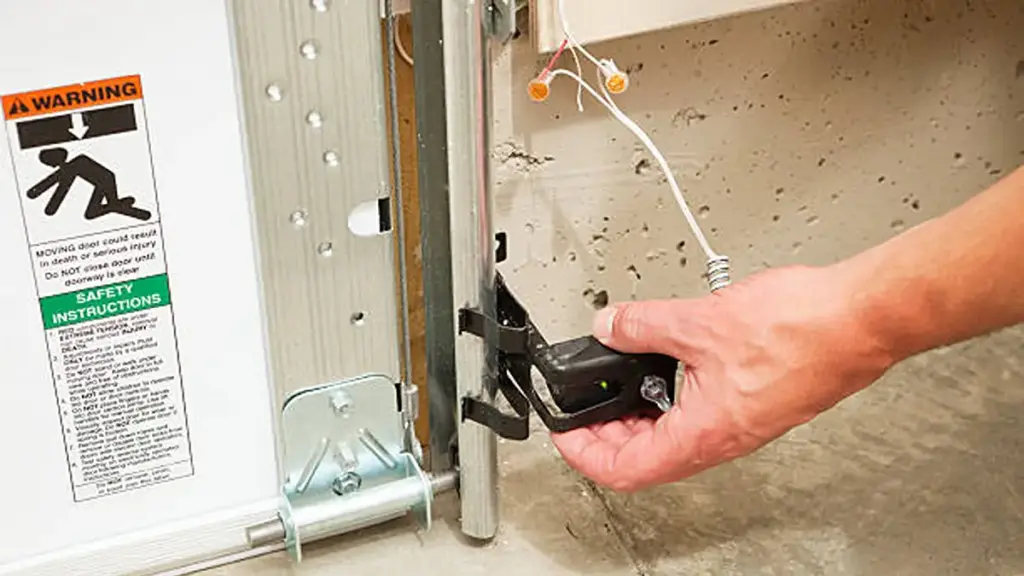
Dirty, obstruido, or misaligned safety sensors are common causes of a garage door that won’t close. You can quickly isolate and resolve these issues using systematic physical and electrical checks.
Diagnosing Sensor Alignment and Indicator Lights
Safety sensors, or photo eyes, rely on an uninterrupted infrared beam to allow the garage door to close. When this beam breaks or misaligns, the opener triggers a safety reversal. Checking the built-in LED indicator lights on both sensor bodies gives you an immediate diagnostic starting point.
- Normal Status Lights: On many systems, both sensor LEDs should be lit steadily when the sensors are properly powered and aligned. Check your opener manual for the specific LED colors and meanings for your model.
- Fault Signals: Spot alignment or power issues immediately if one or both LEDs blink, flicker, or remain completely dark.
- Bracket Adjustment: Loosen the bracket wing nuts and adjust the sensor position up, down, or side-to-side until both lights shine steadily.
- Lens Cleaning: Wipe the glass lenses gently with a soft, damp cloth to clear away dirt, cobwebs, and debris blocking the infrared path.
Testing Safety Reversal and Wiring Integrity
Once the indicator lights show a solid connection, you must verify that the safety reversal system actually responds to physical obstructions. Physical tests confirm the sensors communicate properly with the opener motor unit during a closing cycle.
- Obstruction Test: Place a physical object like a cardboard box directly in the path of the door to verify the safety reverse system activates when the door descends.
- Beam Interruption Test: Wave a tool or object across the infrared path while the door is closing to confirm it reverses instantly.
- Wiring Verification: Examine the small wires at the sensor terminals and the opener head for fraying, pinches, or loose connections.
- Isolation Test: If the sensors still do not work after cleaning and alignment, inspect the visible wiring for cuts, pinches, or loose connections. If the problem persists, have a qualified technician test the wiring to identify faults that may be hidden inside the walls.
If the sensors work with known-good wiring but fail with the existing wire run, the wiring may need to be repaired or replaced. Replacing damaged wiring prevents intermittent reversals caused by structural vibrations during door movement.
Custom Aluminum Garage Doors for Global Projects
Checking Tracks, Rodillos, and Obstructions
Keeping the tracks clear and the rollers properly aligned helps the door move smoothly and reduces unnecessary strain on the opener. Regular garage door maintenance can also help catch worn rollers, loose hardware, and other problems before they affect daily operation.
Removing Track Obstructions and Cleaning Debris
Before inspecting the tracks, disconnect the opener so the door cannot start moving while you are working around it.
Próximo, inspect both the vertical and horizontal sections of the tracks for debris, abolladuras, or anything blocking the rollers. Look closely for wedged objects, packed dirt, or hardened grease that can stop a roller in its tracks.
Clear the path by vacuuming out loose debris and wiping the inner channel surfaces with a damp cloth. Avoid adding heavy grease, which only attracts grit and increases friction over time.
Finish by checking the entire run for structural damage. Inspect the metal for dents, crimp marks, flattened spots, or loose mounting brackets that might compromise track stability.
Checking Track Alignment and Servicing Rollers
Use a level to verify vertical track alignment. Both sides must be plumb, parallel, and spaced consistently from the door frame to prevent binding or unexpected safety reversals.
If the tracks appear bent, twisted, or significantly out of alignment, do not attempt to straighten them yourself. Have a qualified garage door technician inspect and adjust the tracks.
Now inspect the individual rollers. Watch out for cracked wheels, flat spots, or frozen bearings that drag and slide along the channel instead of spinning freely.
If the rollers require lubrication, use a garage-door-specific lubricant and follow the manufacturer’s maintenance instructions. Manually cycle the door several times to distribute the lubricant and ensure quiet operation.
When Garage Door Springs Cause Problems
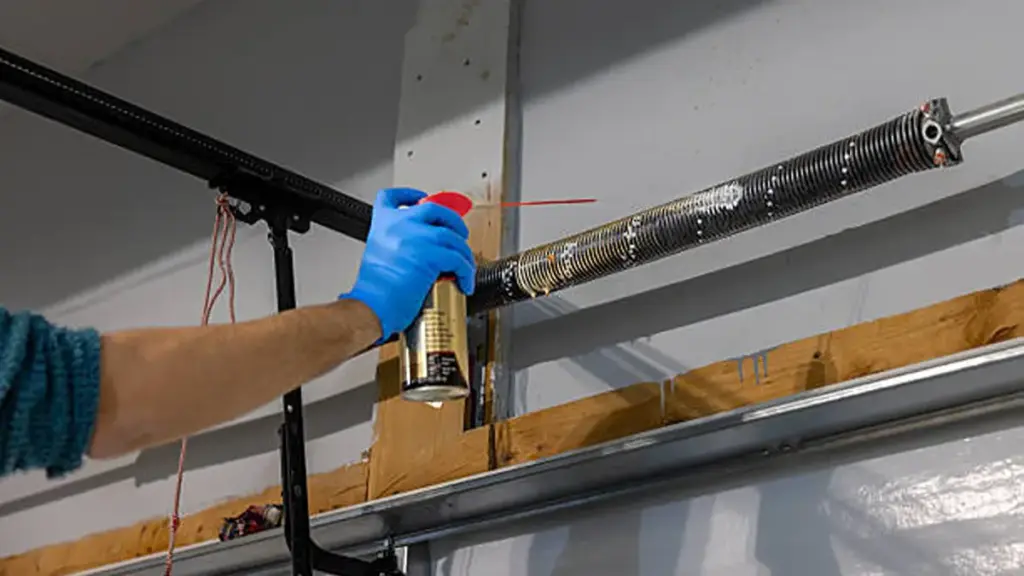
Broken or weakened garage door springs can throw off the door’s balance, making it much harder for the opener to lift and increasing the risk of injury.
Signs of Failed or Weakened Garage Door Springs
Identifying spring problems early can help prevent further damage and reduce the risk of a sudden door failure. Look for these specific physical and operational indicators during your regular inspections.
- Audible structural failure: A loud bang from inside the garage can be a sign that a torsion spring has broken.
- Visible coil separation: A visible gap in the torsion spring coil is a common sign that the spring has broken.
- Stalled travel: The door may lift only a few inches before stopping or reversing when the opener detects excessive resistance or an unbalanced door.
- Slack lift cables: Loose, slack, or dangling lift cables indicate the entire system has lost spring tension.
- Crooked door alignment: The door tilts or moves crookedly along the tracks, pointing to uneven tension between multiple springs.
- Excessive manual weight: Weak or fatigued springs fail to counterbalance the door, making it feel extremely heavy during manual operation.
Operational Safety Risks and Balancing Solutions
Ignoring spring fatigue introduces severe mechanical strain across the entire door assembly. Spring and counterbalance problems require the correct parts and adjustment, so they should be handled by a trained garage door technician.
- Rapid descent hazards: A door with a broken spring may become difficult to control and can fall unexpectedly, creating a serious risk of injury or property damage.
- Opener motor strain: Operating the door with compromised springs overloads the opener motor, which strips the internal drive gears.
- Track and panel distortion: Uneven tension twists the door frame, causing panels to bend and forcing rollers to pop out of their tracks.
- Spring selection: Replacement springs must be matched to the door’s weight and the correct spring specifications to restore proper balance, while the garage door size and dimensions also need to match the opening and overall system requirements.
- Balance check: After disconnecting the opener, a properly balanced door should stay near the position where you place it rather than dropping or rising unexpectedly.
- Post-replacement calibration: Technicians must adjust the opener’s travel limits and safety force settings immediately after installing new springs.
Testing the Opener and Remote Controls
Systematic testing of power connections, remote frequencies, and safety sensors isolates electronic glitches from mechanical failures, preventing unnecessary and expensive opener replacements.
Diagnosing Opener Power and Remote Transmission Issues
Check the power source first when the entire system goes cold. Plug a small tool or phone charger into the ceiling outlet to verify electrical flow, then check the electrical panel for a tripped circuit breaker or a tripped GFCI outlet in the garage. If the hardwired wall button operates the door but the wireless remotes fail, you have isolated the issue to the radio receiver or the transmitter.
Resolve remote transmission failures by working through the most common signal blockers:
- Weak transmitter batteries: Replace weak coin-cell batteries and clean dirty contact points using a dry cloth.
- Radio frequency interference: Move Wi-Fi routers away from the opener chassis and replace standard household LED bulbs in the garage with shielded, garage-door-rated LEDs.
- Corrupted code memory: Clear the motor’s receiver memory and reprogram your transmitters to establish a clean handshake.
To reset the opener, follow the reset procedure in your model’s owner’s manual. On many systems, the Learn or Program button is used to clear remote codTo perform a full memory reset and clear all remote codes, locate the colored Learn button on the motor unit. Hold this button down for about 6 a 10 seconds until the LED light turns off.es, but the exact timing and reprogramming steps vary by model.
Testing Safety Sensors and Mechanical Reversal Systems
Misaligned safety sensors cause most close-and-reverse issues. The sending eye emits an infrared beam that must hit the receiving eye. Clean both lenses with a soft cloth and tighten the mounting brackets so they point directly across the opening.
Execute these three standard diagnostic tests to ensure your safety systems function correctly:
- Beam obstruction test: Start the closing cycle and wave a broom handle between the sensors; the door must immediately stop and reverse.
- Contact reversal test: Place a suitable solid object in the door’s path and test the opener according to the manufacturer’s safety-test instructions. The door should reverse when it contacts the object.
- Diagnostic LED interpretation: Check the diagnostic light pattern on the opener and compare it with the troubleshooting chart in the owner’s manual.
If the door fails either the beam or the contact test, disconnect the opener. Calibrate the down-force settings and travel limits according to your manual to prevent property damage or physical injury.
When Professional Garage Door Service Is Needed
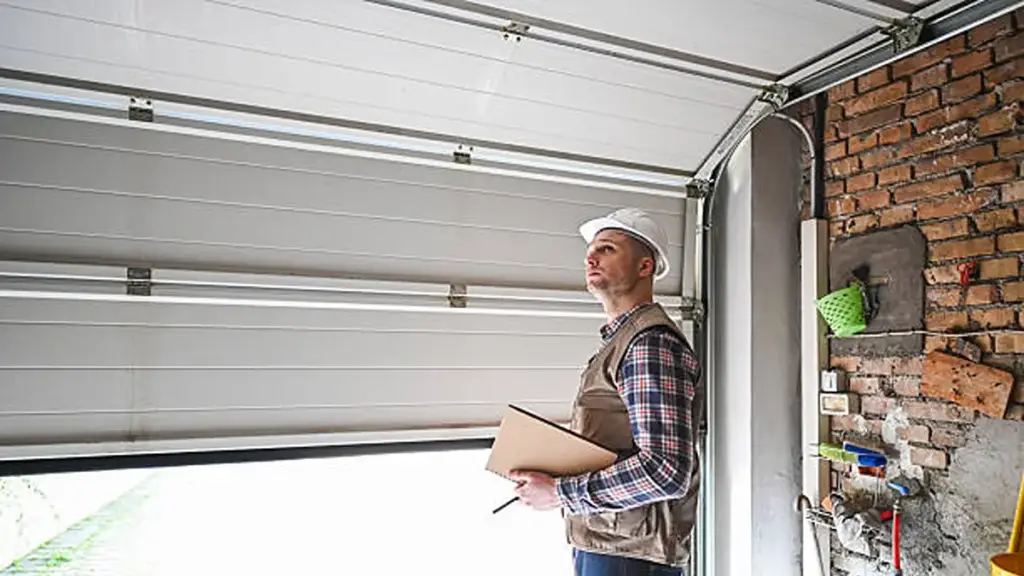
Attempting DIY repairs on high-tension springs, snapped cables, or misaligned tracks risks severe injury and permanent door damage. Leave complex mechanical and electrical failures to trained technicians, and make sure any aluminum garage door installation is completed according to the system requirements.
High-Risk Mechanical and Structural Failures
Heavy structural failures strain the entire system and present immediate physical dangers. Operating a door with compromised structural parts quickly ruins the opener motor and risks sudden, violent door drops.
- Broken torsion or extension springs: Snapped coils leave visible gaps, rendering the door an inert, dead weight that is dangerous to lift manually.
- Frayed or snapped lift cables: Loose cables slip off the drums, causing the door to hang crookedly, jam in the tracks, or lose all counterbalanced tension.
- Off-track or bent tracks: Severely warped metal channels, loose mounting brackets, or rollers that pop out of the track block smooth travel and threaten complete derailment.
- Severe counterbalance misalignment: Imbalanced systems require precise adjustment using specialized winding bars and high-torque calibration.
Because these components store immense mechanical energy, attempting a DIY fix without proper training and specialized tools frequently leads to severe injuries. Professional intervention ensures the door gets safely counterbalanced and aligned.
Electrical, Opener, and Safety System Malfunctions
Electrical problems can also prevent the opener from operating correctly or cause the safety system to malfunction. These faults require systematic diagnosis rather than guesswork.
- Failing opener motors: Internal gear damage or electrical shorts cause the motor to strain, grind, hum without moving, or emit burning odors.
- Persistent sensor issues: If the door still reverses after the sensors are clean and properly aligned, the sensors, wiring, or opener may require further inspection.
- Erratic system logic: Damaged circuit boards, pinched low-voltage wires, and persistent remote receiver failures demand professional voltage testing and diagnostics.
- Unresponsive basic resets: The system remains inoperable after executing standard homeowner checks, such as clearing debris, changing transmitter batteries, or performing a soft power cycle.
If your door fails to reverse when hitting a solid object or when you block the infrared beam, stop using the system immediately. Professional technicians carry the correct replacement boards, sensores, and gears to restore safe, compliant operation.
Why Garage Door System Quality Matters
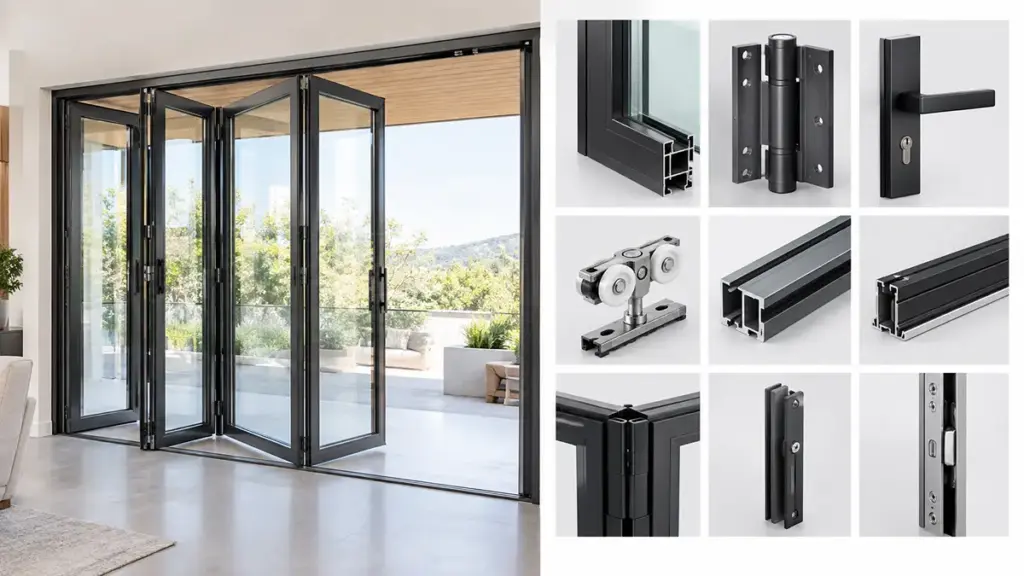
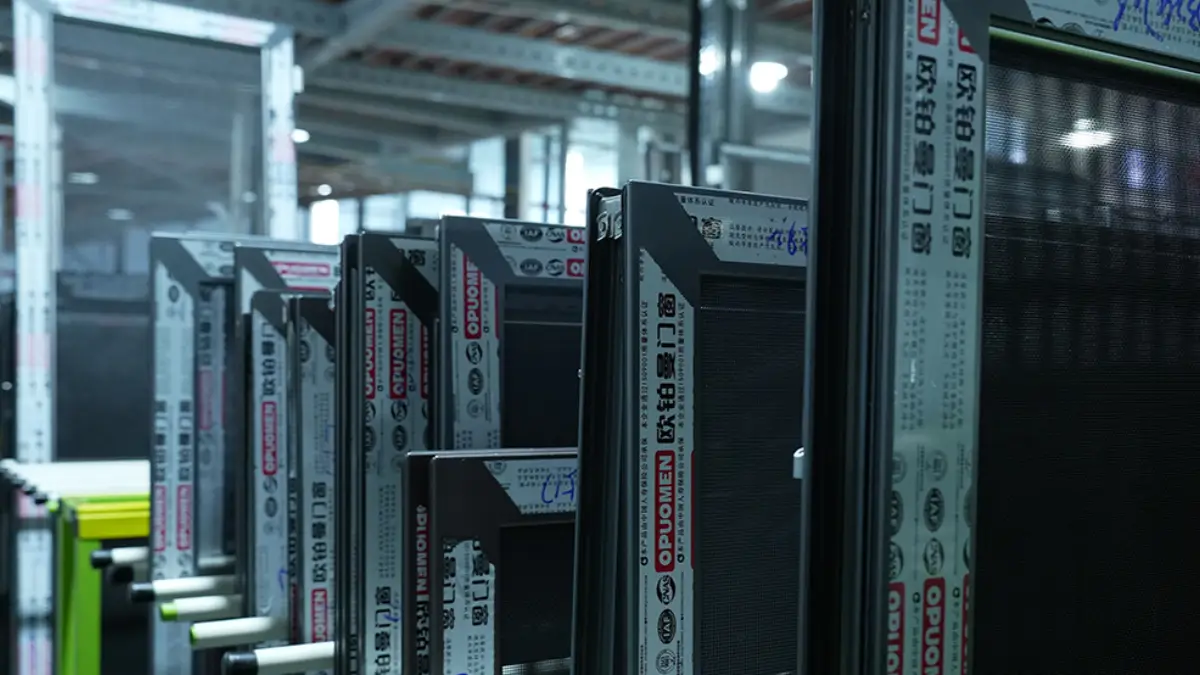
Repeated problems with springs, rodillos, pistas, or opener operation are not always caused by poor maintenance. The overall quality of the door structure, hardware, and opening system also affects long-term performance. Opuo manufactures custom aluminum garage doors for residential and commercial applications, with 6063-T5 aluminum profiles designed for durable, stable use. The company also carries out 100,000-cycle testing on garage door mechanisms to evaluate repeated opening and closing performance. Para compradores de proyectos, OPUOMEN provides support beyond the door itself, including CAD and shop drawings, hardware and opening-system recommendations, sample confirmation, y guía de instalación. This makes it easier to select a garage door system that fits the project’s dimensions, operating requirements, and expected usage rather than treating each component as an isolated replacement.
Preguntas frecuentes
Why is my garage door not closing?
Misaligned safety sensors, physical track obstructions, or incorrect travel limits usually stop a garage door from closing. Check the photo-eye sensors near the bottom of the tracks first. If the indicator lights blink or turn off, gently wipe the lenses with a clean cloth and adjust the brackets until the lights remain solid. Clear any dirt, hojas, or objects from the tracks, and verify that the vacation lock mode on your wall console is inactive.
Why does my garage door open but not close?
If your door opens but refuses to close, check the infrared safety sensors first. These sensors require a clear line of sight to allow closing. When debris or alignment issues disrupt the beam, the door reverses and the opener light blinks. Do not bypass the safety sensors to keep using the door. Clean and realign the sensors first, and have damaged wiring or faulty sensors repaired if the problem continues.
Why is my garage door not opening?
A broken torsion or extension spring stands as the most common mechanical reason a garage door won’t open. When a spring snaps, the door becomes too heavy for the motor to lift. Other causes include a tripped circuit breaker, dead remote batteries, an engaged manual lock, or a stripped drive gear. If you can lift the door easily by hand after pulling the emergency release, the springs are intact and the issue lies with your opener or power supply.
Why is my garage door reversing when closing?
Your door reverses when closing because the safety system detects an obstruction or experiences excessive resistance. Dirt on the safety sensors, direct sunlight blinding the lenses, or misadjusted close-limit settings on the motor can trigger this automatic reverse. To resolve this, clean and align your photo-eyes, adjust the down-limit dial on the opener head in small increments, and inspect the tracks for bends that might bind the rollers.
What causes a garage door to stop working?
Garage doors stop working due to electrical outages, worn mechanical parts, or misconfigured settings. Common culprits include disconnected power cords, dead remote control batteries, broken springs or cables, and dirty safety sensors. Regular maintenance—such as lubricating the rollers and hinges with a garage-door-specific lubricant and testing the balance annually—prevents these sudden failures.
How do I reset my garage door opener?
You can perform a soft reset by unplugging the opener from the ceiling outlet for 60 seconds and plugging it back in. Some openers allow you to erase stored remote codes through the Learn button. Because the procedure varies by model and erases programmed remotes, use the manufacturer’s instructions before resetting the opener. You must reprogram all remotes and wireless keypads after performing this full reset.
Pensamientos finales
When a garage door won’t open or close, the cause may be as simple as a blocked safety sensor or track obstruction, or as serious as a broken spring, damaged cable, or opener problem. Simple checks can help identify minor issues, but high-tension springs, cables, and severely damaged tracks should be left to qualified professionals. For new installations or major replacements, choosing a well-designed door system with durable materials and properly matched hardware can also help support reliable, rendimiento a largo plazo. For larger residential or commercial projects, knowing how to choose a professional garage door supplier can also help with product selection, personalización, and installation support.
Para proyectos residenciales y comerciales., Opuo provides custom aluminum garage door solutions with project-specific sizing, hardware configurations, and opening systems. Its garage door mechanisms are tested for up to 100,000 ciclos, while its technical team can support drawings, selección de productos, y guía de instalación. This approach helps project buyers evaluate the complete door system rather than treating individual components as separate parts.